Jump to:
Whether you’re installing a new shed, workshop or other type of outbuilding, this blog will help you with the absolutely essential step of base building, right from planning to finishing. It covers concrete bases, paving slabs and timber bases, along with how to decide which suits your shed without detail overload. Let’s get started.
What Are the Factors to Consider?
There are four factors you shouldn’t overlook, and these are:
- the location
- height
- the shed’s purpose
- sunlight direction
- adequate drainage
You can’t simply place the base and the structure anywhere in your garden. The location must be favourable to your shed’s purpose and receive the right amount of sunlight. A level and well-drained area is also essential.
It’s important not to raise the shed too high off the ground, because otherwise you have to worry about planning permission. To avoid planning permission and have a permitted development, the absolute maximum height is 4 metres for the highest point of an apex roof, or 3 metres for other roof types. And if you’re building within 2 metres of a boundary (which most of us do), your maximum height comes all the way down to just 2.5 metres. Now, if you’re a centimetre or so over, your neighbour probably isn’t going to come around with a tape measure to check. But just bear in mind that you should avoid going too tall.
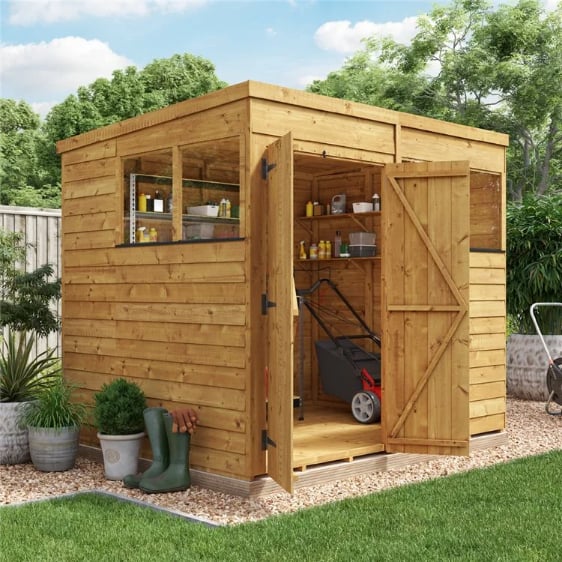
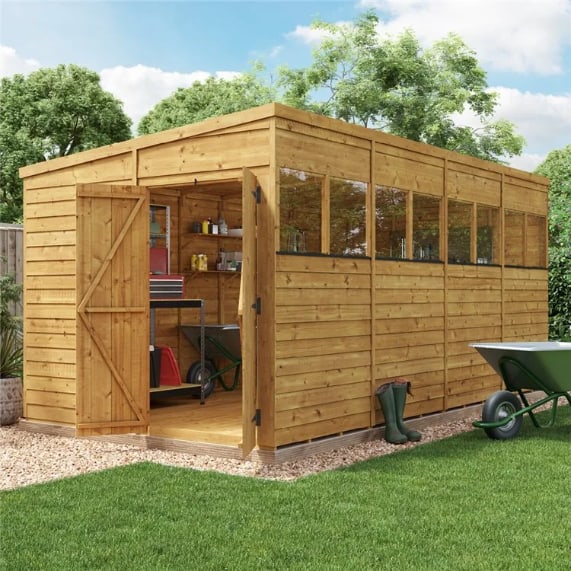
You should consider what you’ll use your outdoor shed for. If you’ll use it to store garden tools, it’s wise to situate the unit near your growing space, such as a greenhouse. Regardless, there should be ample space around it for easy access and maintenance.
The ideal spot is where the direction of sunlight hits the most. It maximises natural light and minimises potential dampness inside the shed. Good drainage is crucial to prevent water from pooling around or under the structure, to add.
Which type of shed base to use
Here’s a useful comparison table created by our shed-building experts:
|
| Concrete base
| Timber frame base
| Paved base
|
| Cost
| Materials and installation likely to be expensive
| Cheap materials, cost-free installation if you DIY. A prefab kit may have a similar material cost to paving.
| Cost of slabs depends on the type you buy, relatively expensive. Self-installation is cheaper.
|
| Strength
| Strong and durable, able to withstand any weight (as long as it is thick enough).
| Strength depends on timber size and support spacing. May require reinforcement for heavier buildings.
| Strong if laid on a well-compacted sub-base. Poor preparation may cause movement or cracking.
|
| Water resistance
| Resistant to water when properly laid and raised above ground level, but concrete itself is porous.
| Even with treatments, timber is not completely safe from water. It may also seep in from gaps.
| Excellent drainage between slabs. Membrane required to prevent rising moisture.
|
| Durability | Will stand for many years without requiring maintenance. | Requires periodic inspection. Lifespan depends on treatment and ventilation. | Good durability. Mortar between paving stones will eventually shrink and need replacing.
|
| Weed Growth | No weeds on the base surface (only around the edges). | Weeds may grow beneath or around the base unless weed membrane or ground preparation is used. | Weeds may grow between slabs unless a weed membrane and proper jointing are used. |
How to Prepare the Ground for a Shed Base?
Proper ground preparation before building a shed base ensures a stable outcome. These steps apply to all types of shed bases.
Step 1: Area clearance
Begin by clearing the area where you plan to build the shed base. Remove any existing vegetation, such as grass or weeds, to achieve a clean and level surface. If left, they could hinder proper drainage or result in unevenness.
Step 2: Measurement and marking
Measure the dimensions of your garden shed to match it with the base. Use stakes and string to mark the corners and outline of the base. Double-check these measurements for accuracy and avoid any discrepancies during construction.
Step 3: Ground levelling
Start levelling the ground within the marked area using a shovel, rake, or a levelling tool. Remove any high spots and fill in sunken or lower areas to create a flat surface. This will help minimise the risk of structural issues later on.
Step 4: Weed membrane (optional)
If persistent weeds are a concern, lay a weed membrane over the levelled ground. This barrier will help reduce the likelihood of weed intrusion. In return, it can protect the base against potential damage over time.
Step 5: Soil compaction
Compact the soil using a tamper or a plate compactor to enhance the shed base’s stability. This technique helps settle the ground and prevents the base from sinking or shifting.
Step 6: Assess drainage
Assess the drainage condition in your chosen area to avoid water accumulation. If needed, create a slight slope away from the base to direct water away. Enough drainage will protect the base and shed from water damage.
Step 7: Check levelness
Use a spirit level to check the levelness of the prepared ground. Make sure all the sides are even and make any necessary adjustments. This will guarantee the shed’s stability and proper functioning.
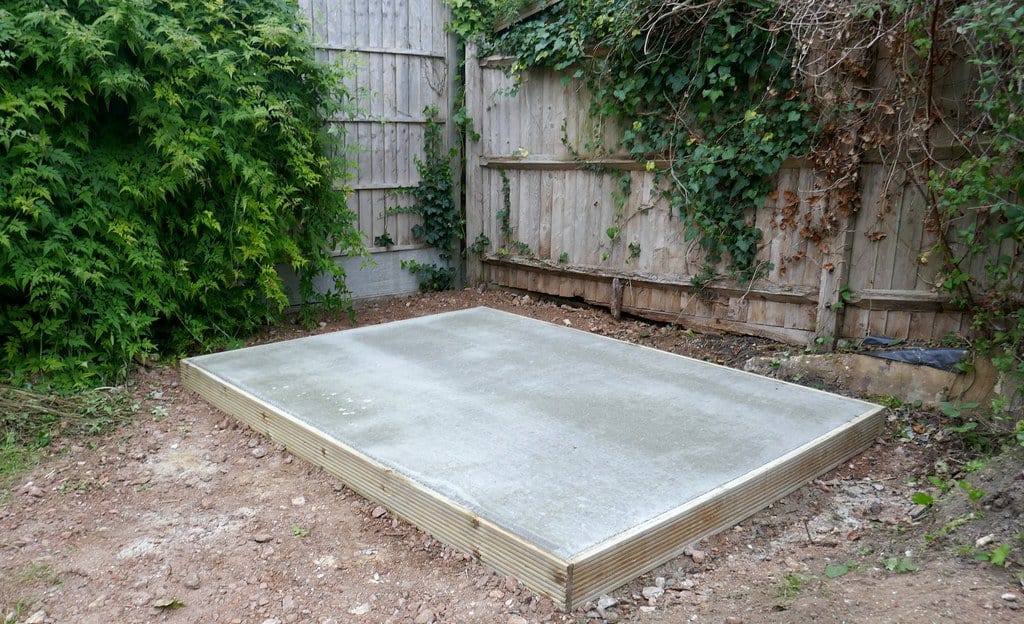
At this point, if you have a timber frame base, you can set it down, and you’re all done!
Building the Base Itself
With the base zone prepared, now you get to add your actual base material. Here are the simple steps for each type:
Paving slab base
Starting from one corner and working one row at a time, lay the slabs by standing one on its edge and tipping it down into the gap. It’s best to try to let it drop slowly so that it stays in alignment; otherwise, you can end up with a slab landing on the end of another slab and cracking in half!
Timber shed base installation
Simply place your base frame into position and hammer its spikes into the ground. Check with a spirit level that it’s perfectly flat.
Build your concrete shed base

- Build a frame of pressure-treated wood (aka formwork) in your prepared zone. This will contain your concrete mixture while it dries. Remember that your total base height will be about 6 inches (15cm).
- Check diagonal measurements to ensure the formwork is square and level, as this will determine whether your shed base is 100% sturdy.
- Spread a 3-inch (7.5 cm) layer of well-compacted hardcore (all-in ballast or crushed gravel) and cover with a liberal amount of sand. This needs to be well compacted and flattened down, preferably with a compacting tool or roller.
- Mix concrete using one part cement to five parts all-in-one ballast, or use bags of dry-mixed concrete and just add water. Remember, small amounts of water should be added at a time and mixed into the concrete. Be careful, as excessive amounts may make the cement too sloppy, and it needs to stay reasonably dry.
- Spread the concrete evenly and slightly above the frame. This can then be levelled off with a long, straight timber edge resting on the formwork, using a sawing motion slowly over the entire surface of the freshly laid concrete.
- If wet weather is forecast, cover the concrete with polythene for 24 hours. In warm weather, cover the base with damp sacks and sprinkle them with water over a 24-hour period; this will ensure the drying concrete will not shrink and crack. The result is a smooth, sound, level base. The perfect foundation for the construction of a garden shed.
Will I need help to build my base?
Constructing the foundation for your garden shed is a fairly hassle-free task for a single person to complete. When it comes to actually assembling a wooden shed, we do recommend that an extra person be on hand once the panel is constructed for lifting and placing the roof and wall panels in place.
Final Step: Ensure the Base is Level
Using a spirit level, ensure your new shed base is flat and not dipping anywhere. You will need to check all the points where the shed floor bearers will have contact. If there are any uneven sections, you may need to add some extra material to support the shed. Tipping even a few degrees can damage your shed in the long run.
Round-up
Preparing the shed floor base is straightforward. With the right tools and guidance, anyone can accomplish this task. But having an extra pair of hands proves invaluable during the actual base and shed assembly.
If you have any further questions, contact us and don’t hesitate to give us a call at 01909 768840.
Use the buttons below to explore your options and decide what works for your space:


