Jump to:
Maintaining a thriving greenhouse garden in colder months presents challenges. This is particularly true when growing crops that can’t handle the cold. Enter greenhouse heating — your key to successful plant production in this weather condition. It doesn’t have to cost a fortune to run it; there are practical ways to do so. We’ve put together five helpful methods to help you out.
1. Opt for thermal water storage tanks

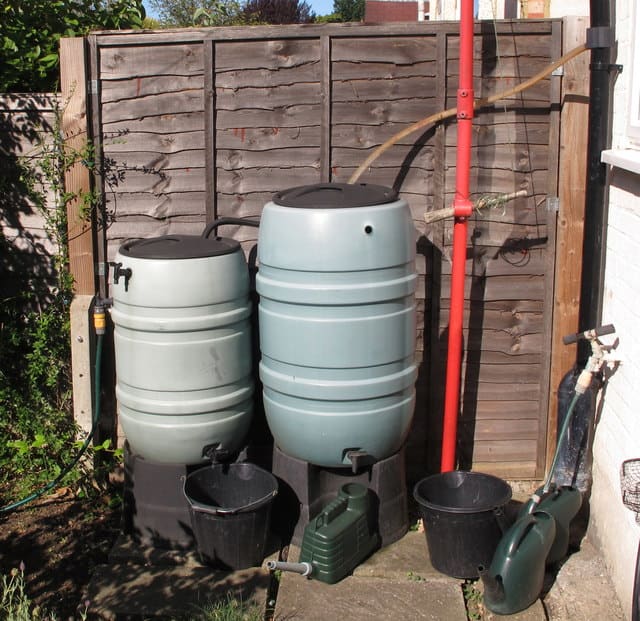
Water stands as an economical and accessible solar heat accumulator. Meanwhile, thermal energy heats or cools a medium to use the energy for later use. In its simplest form, thermal water storage tanks use water tanks for heat storage.
You’ll be using dark-coloured gallon drums for this DIY greenhouse heating. Dark colours are chosen as they absorb more sunlight. As these makeshift tanks soak up the sun, the water stored heats up. This heated water then acts as a thermal storage medium. It retains the absorbed heat energy even after the sets or when there’s limited sunlight. As a result, these drums can keep the greenhouse warm during colder periods.
Placement tip: Place the drums in a sunny, south-facing spot, free from obstructions. Keep them close to your greenhouse, and elevate them for better heat retention.
2. Position the greenhouse below the frost line (if possible)
A below-ground greenhouse can be effective in extending your gardening season in winter. The UK frost line marks where soil starts freezing — about 0.45 metres deep. The structure can get warmer naturally when situated within this depth. This technique works for greenhouses that allow light to enter, such as a polycarbonate greenhouse.
To do so, you’ll need to excavate according to the recommended depth and then place the greenhouse over it. Installing ventilation is an added task, but it helps with temperature regulation.
Note: You might need extra help from experts for excavation and ventilation installation.
3. Wrap plants with bubble wraps
Bubble wraps create an insulating barrier that helps prevent heat loss. Their translucent nature allows sunlight to enter – your plants still get plenty of light, in turn.
You need to put stakes around the plants you want to protect. Then, bind the bubble wrap around them using tape or twist ties and leave room for growth. You can drape a larger piece over several plants and secure the edges. Now, you’ve got a mini-greenhouse within a greenhouse equipped with affordable greenhouse heating! Make sure to remove the top piece of bubble wrap on warmer days to avoid overheating or suffocation.
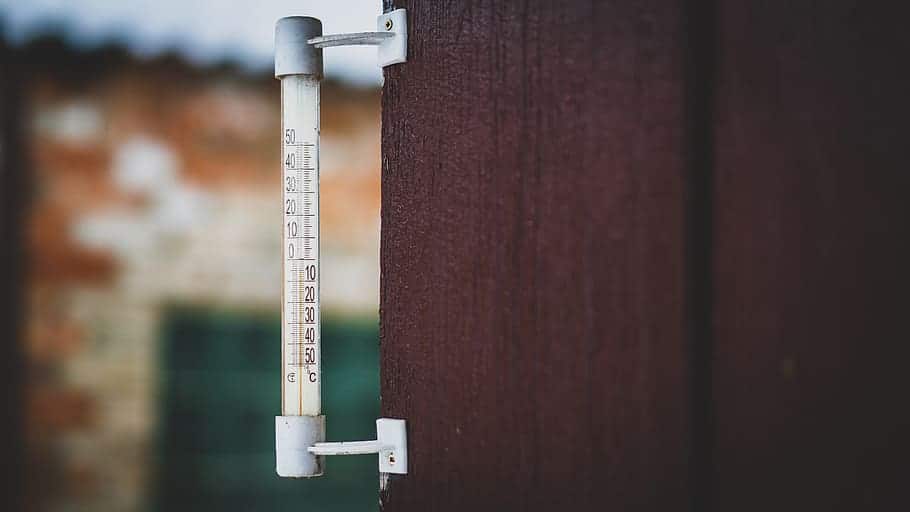
4. Invest in a thermometer or thermostat

(Image Credit: Wallpaper Flare)
A thermometer can give you accurate temperature readings, and you’ll never have to guess! It’s handy if you already have a heater installed within the greenhouse. Check the temperature daily and adjust the heater as needed to keep a consistent climate. Doing so ensures optimal conditions for plant growth during winter.
Alternatively, consider a thermostat if your greenhouse heating system doesn’t have one. With this tool, you can set it to come ON when the temperature drops below a certain point. Both options are great investments and effective if you’re looking to save money and energy.
5. The plastic bottle cheat
Passive solar plastic bottles offer a cost-effective alternative to solar heating. Unlike tanks, you can reuse these bottles and place them along walls, saving floor space. Darker colours absorb more heat, retaining and releasing it at night. Distribute them throughout your walk-in greenhouse for optimal results.
Note: Each plant has unique heating needs. Results may vary depending on your plants and produce.
There goes our five practical greenhouse heating methods for a flourishing winter garden! From simple insulation tricks to using solar energy, there’s a solution for every budget.
One of the great things about wooden greenhouses is how they require less heating due to their naturally increased insulation over other materials. If you struggle to keep your greenhouse warm enough over the iwnter, you might want to consider an upgrade.
Our greenhouse buying guide has everything you need to consider if you’re looking at a new model soon.
Up next on your reading list: Should a Greenhouse be in Full Sun or Shade?


