Jump to:
Knowing how to fill gaps in a log cabin keeps things from getting worse. Although these are pretty common, you wouldn’t want them to leave them alone. Otherwise, this can lead to water ingress, rot, mould, energy loss, and pest entry.
And if these openings become too noticeable, they start to spoil the look of the place, too. This guide covers why log cabin gaps appear, how to spot them, and what filler to use to get you started.
Why Gaps Appear in Log Cabins

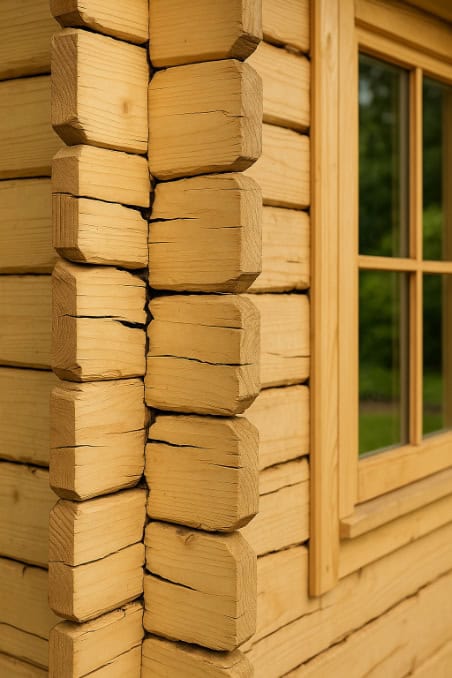
This often comes down to natural timber movement—starting with walls. Wood expands and contracts with temperature and humidity changes. This shifting is normal, especially in the UK, where the weather is unpredictable.
When your cabin is new, the logs can also settle into place. This can create small spaces between them. You may need to loosen a screw or two to allow a log to drop and reseat itself, closing the gap.
The timber flooring isn’t immune either. It can shrink or expand, especially if the base isn’t ventilated or insulated. Draughts or damp patches might not be a sign of damage, but of small gaps between the boards. You’ll want to catch these early, before they become trip hazards or start to buckle.
As for the roof, gaps can form where timber panels or boards meet. Left unchecked, this can lead to leaks and eventually rot in the rafters or ceiling lining. Do regular checks, more so after heavy rain or a cold snap.
How to Check for Gaps
Do a walkaround and check for visible cracks. Use a tape measure or callipers to check the depth and width of any gaps. Doing so will give you ideas on what fillers to use and how much you’ll need.
For reference:
- Small cracks (under 5mm): Caulk or filler may do the trick.
- Medium to large gaps (5mm+): You’ll need chinking or foam insulation.
- Uneven settling (e.g., one side is lower than the other): It might need adjusting part of the structure—best left to a pro.
Filler Options for Log Cabin Gaps
You can use a few materials, depending on what you need. Here’s a quick rundown:
Chinking
Chinking is a flexible sealant made from things like mortar or synthetic compounds. It’s great for bigger gaps because it moves with the logs as they expand and contract with the weather. The downside? It can take some time to apply, but it’s worth it for larger cracks.
Caulking
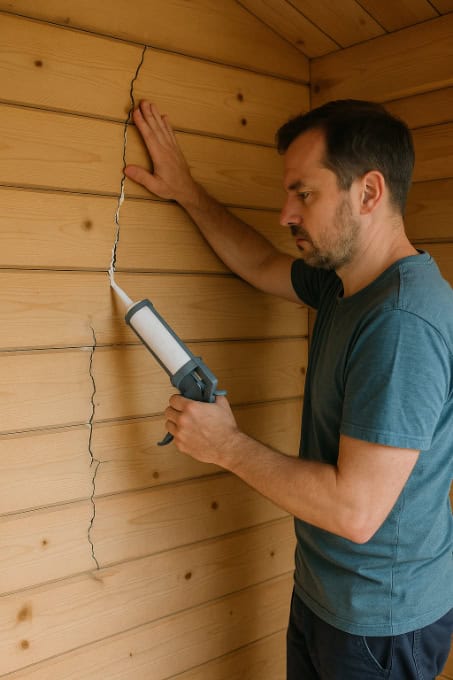
For smaller gaps, caulk, like this silicone and gun set, is your go-to. You can get it in silicone or latex, and it’s super easy to apply with a gun. It does a good job of sealing things up, but it might need topping up every now and then. Just keep in mind that it’s not always the prettiest option.
Foam insulation
Foam insulation, like expanding polyurethane foam, is effective for small and large gaps. It provides excellent insulation properties and helps with energy efficiency. The only thing to watch out for is that it can expand quite a bit, so you’ve got to be careful when applying it.
And if you ever need to remove or replace it, it can be a bit of a pain.
For smaller gaps, caulking tends to be the easiest and cheapest option. But for bigger gaps, chinking is the way to go, especially if you want that traditional log cabin look. If you’re after serious insulation and need things to be properly airtight, foam is your best bet.
Prep Work Before You Start Filling
- Grab a stiff brush or vacuum cleaner to get rid of any dirt, dust, or loose bits in the gaps. This will help the filler stick better and give you a cleaner surface to work with.
- If there’s any old chinking or caulking that’s gone all manky, you’ll need to scrape it out. Use a scraper or chisel to remove it, making sure the gaps are clear before you start filling them.
- Good airflow is key when you’re doing this, so make sure to open the windows and doors or even use a fan to keep the air moving. This is especially important if you use anything with strong smells or chemicals.
- And don’t forget your protective gear! Pop on some gloves and safety goggles to keep yourself safe while you’re prepping. If working with chemical stuff, always check the instructions for safe handling.
Steps on How to Fill Gaps in a Log Cabin

This is a general guideline and works for wall, fall, and roof gaps. Feel free to make adjustments as needed:
- Prep your filling material according to the instructions. This might mean mixing mortar for chinking or loading up a caulk gun for caulking.
- Get to work applying it into the gaps with a trowel or your caulk gun. For chinking, the material should fill the whole gap. For caulking, run a nice, even bead along the length of the gap.
- Once it’s in place, grab a putty knife or a chinking tool and smooth it all out. The edges must blend in with the surrounding logs.
- For a tidy finish, stick to the same technique and colour throughout.
Note: Different materials might need slightly different methods. Chinking, for instance, needs to be pressed in firmly and then smoothed to get that textured look. Caulking, in contrast, is usually smoothed off with a damp finger or a special tool.
Round-up
Knowing how to fill gaps in a log cabin ensures it stays structurally sound and well-insulated. Understand what’s causing them, use the right filler, and make it part of your regular maintenance. Don’t let the little cracks turn into big problems!
Up next on your reading list: How to Treat a Log Cabin Exterior


