Jump to:
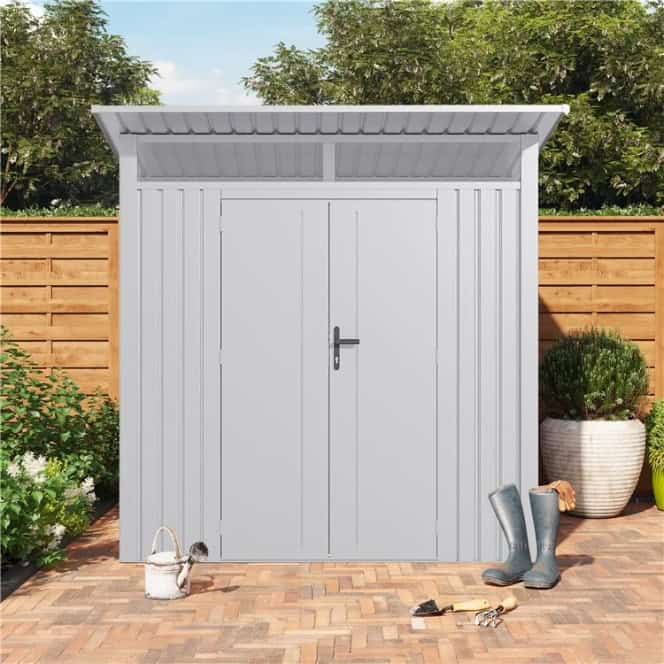
Investing in a metal shed means getting lightweight, durable, and versatile storage. The satisfaction of building or installing one yourself can be incredibly rewarding. This guide will walk you through the process of how to build a steel shed. Roll up your sleeves, and let’s get started!
Step 1: Prepare for Metal Shed Assembly
Preparation is important to make sure you don’t waste time and effort in the long run. To begin, ensure you have enough outdoor space to accommodate the metal shed. Ideally, there should be at least a couple of feet of clearance on each side for easy access. Also, avoid locations where low-hanging branches or utility lines might obstruct installation.
Read our guide ‘How to Prepare Your Garden for a Shed’ for more information.
If you purchased a kit, review the manufacturer’s installation instructions. Layout all parts to confirm that nothing is missing, and gather all the tools needed.
Tip: When assembling, choose a clear day without rain showers or gusty winds. Enlist the help of a friend or family member to speed up the project.
Step 2: Level the Ground (If Necessary)
A level ground prevents the steel storage from shifting, sinking, or being damaged by moisture, which can lead to rust. If you already have a good base, you can skip this step. Otherwise, the string-level method is one of the best and easiest ways to achieve this:
- Drive stakes into the ground around the perimeter of the uneven area.
- Pull strings tightly between the stakes. On sloped ground, attach the string tightly to the high side first, then stretch it across the stake on the low side.
- Use a line level to double-check that the strings are level and at the desired height. This will be your starting point for building the rest of the ground up to this level.
Step 3: Build the Base
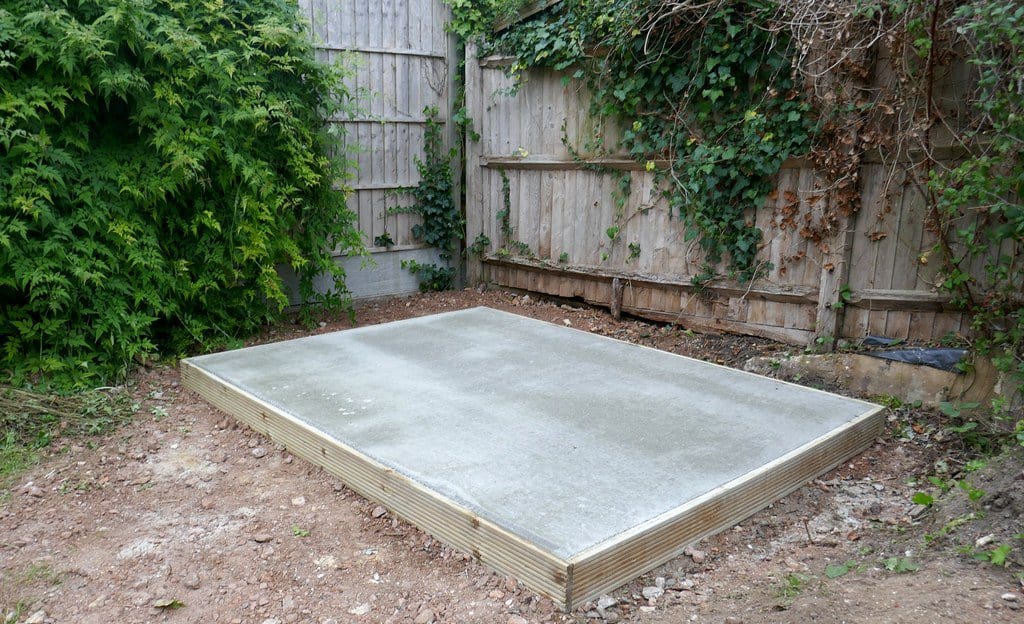
A solid base guarantees proper assembly and longevity for your metal shed. Despite its sturdiness, the structure would be at risk without one. Even if it comes with a built-in foundation kit, placing it directly on a bare lawn is a no-go. The weight of the unit increases the danger of sinking and damaging the grass.
The steps for constructing one will vary depending on the base type. For reference, see our guide, ‘Do Metal Sheds Need a Base?’
Step 4: Set up the Corners and Walls
After completing the shed’s base, place a corner panel at each corner of your floor flame. Ensure the widest part of each corner panel is positioned along the side of the building. Repeat this step for all corners.
Once positioned, secure the wall panels at both the top and bottom of the shed using screws. Then, fasten the centre of each panel to the wall channel.
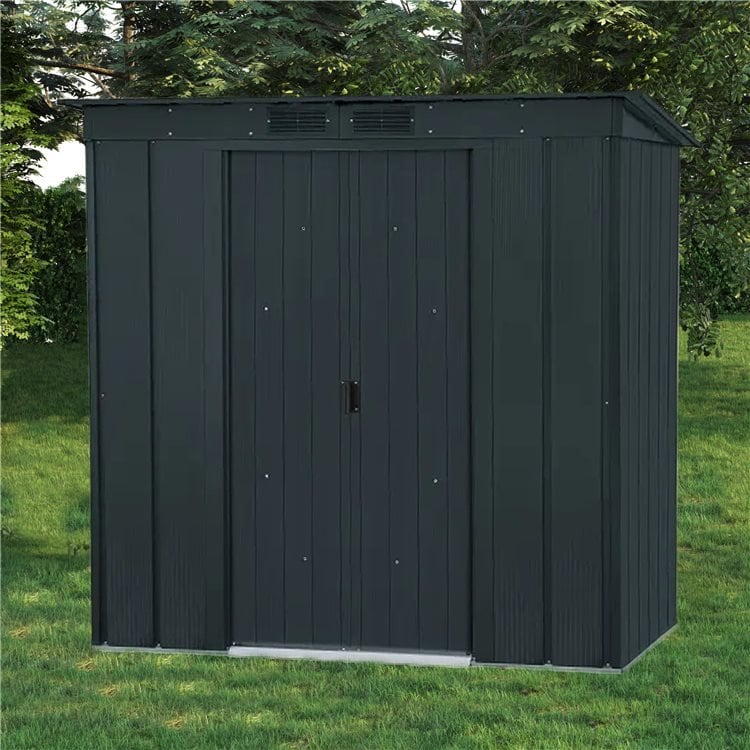
Step 5: Work on the Structure
Now that the walls are in place, it’s time to build the main structure of your metal shed.
- Begin by attaching roof beams across the top of the walls. These beams will support the roof panels and stabilise the building.
- Install the roof panels next. Secure each panel to the beams, aligning them for a snug fit.
- As you work, check and tighten all frame connections. This helps ensure the shed’s durability and resistance to weather conditions.
- Add reinforcements if necessary, depending on the shed design and your local weather. This could include braces or supports to strengthen the structure further.
Step 6: Install Doors and Windows
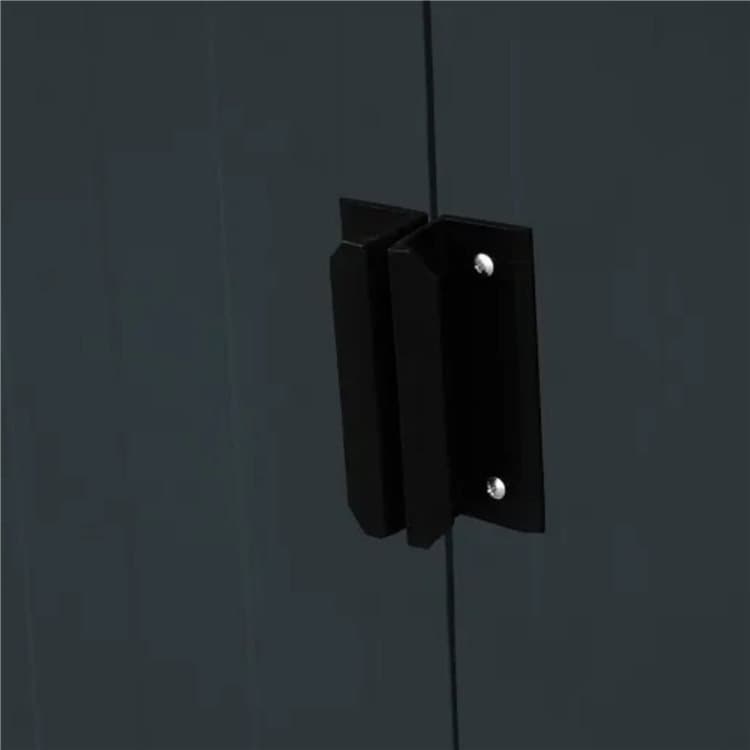
Follow the manufacturer’s instructions for assembling doors and windows. Attach door handles and braces accordingly, then move inside the shed. Position the bottom edge of the right-side door in the floor frame track. Tilt the door upward and align the top door brace with the slide. Screw the door to the door side, and you’re done!
If your shed design includes windows, install them next. Seal around the edges to prevent leaks. Test the functionality to ensure everything operates correctly.
Step 7: Anchor Your shed
Congratulations on reaching the final step on how to build a metal shed! Anchoring is essential for the overall safety and stability of your metal shed. Anchors should be placed at each corner and approximately every 4-6 feet along the walls. Depending on your shed’s foundation, you’ll need appropriate anchors. Always follow the manufacturer’s guidelines for correct placement and installation.
Next up on your reading list: How Long Do Metal Sheds Last?


