Jump to:
There seem to be a million questions to answer before you can make a final call and invest in a garden shed. You might even find yourself asking: is it cheaper to build your own shed? Nonetheless, one thing holds true: your garden needs preparation before you set up one. Use this post to guide you through the process.
Step 1: Choose the shed site
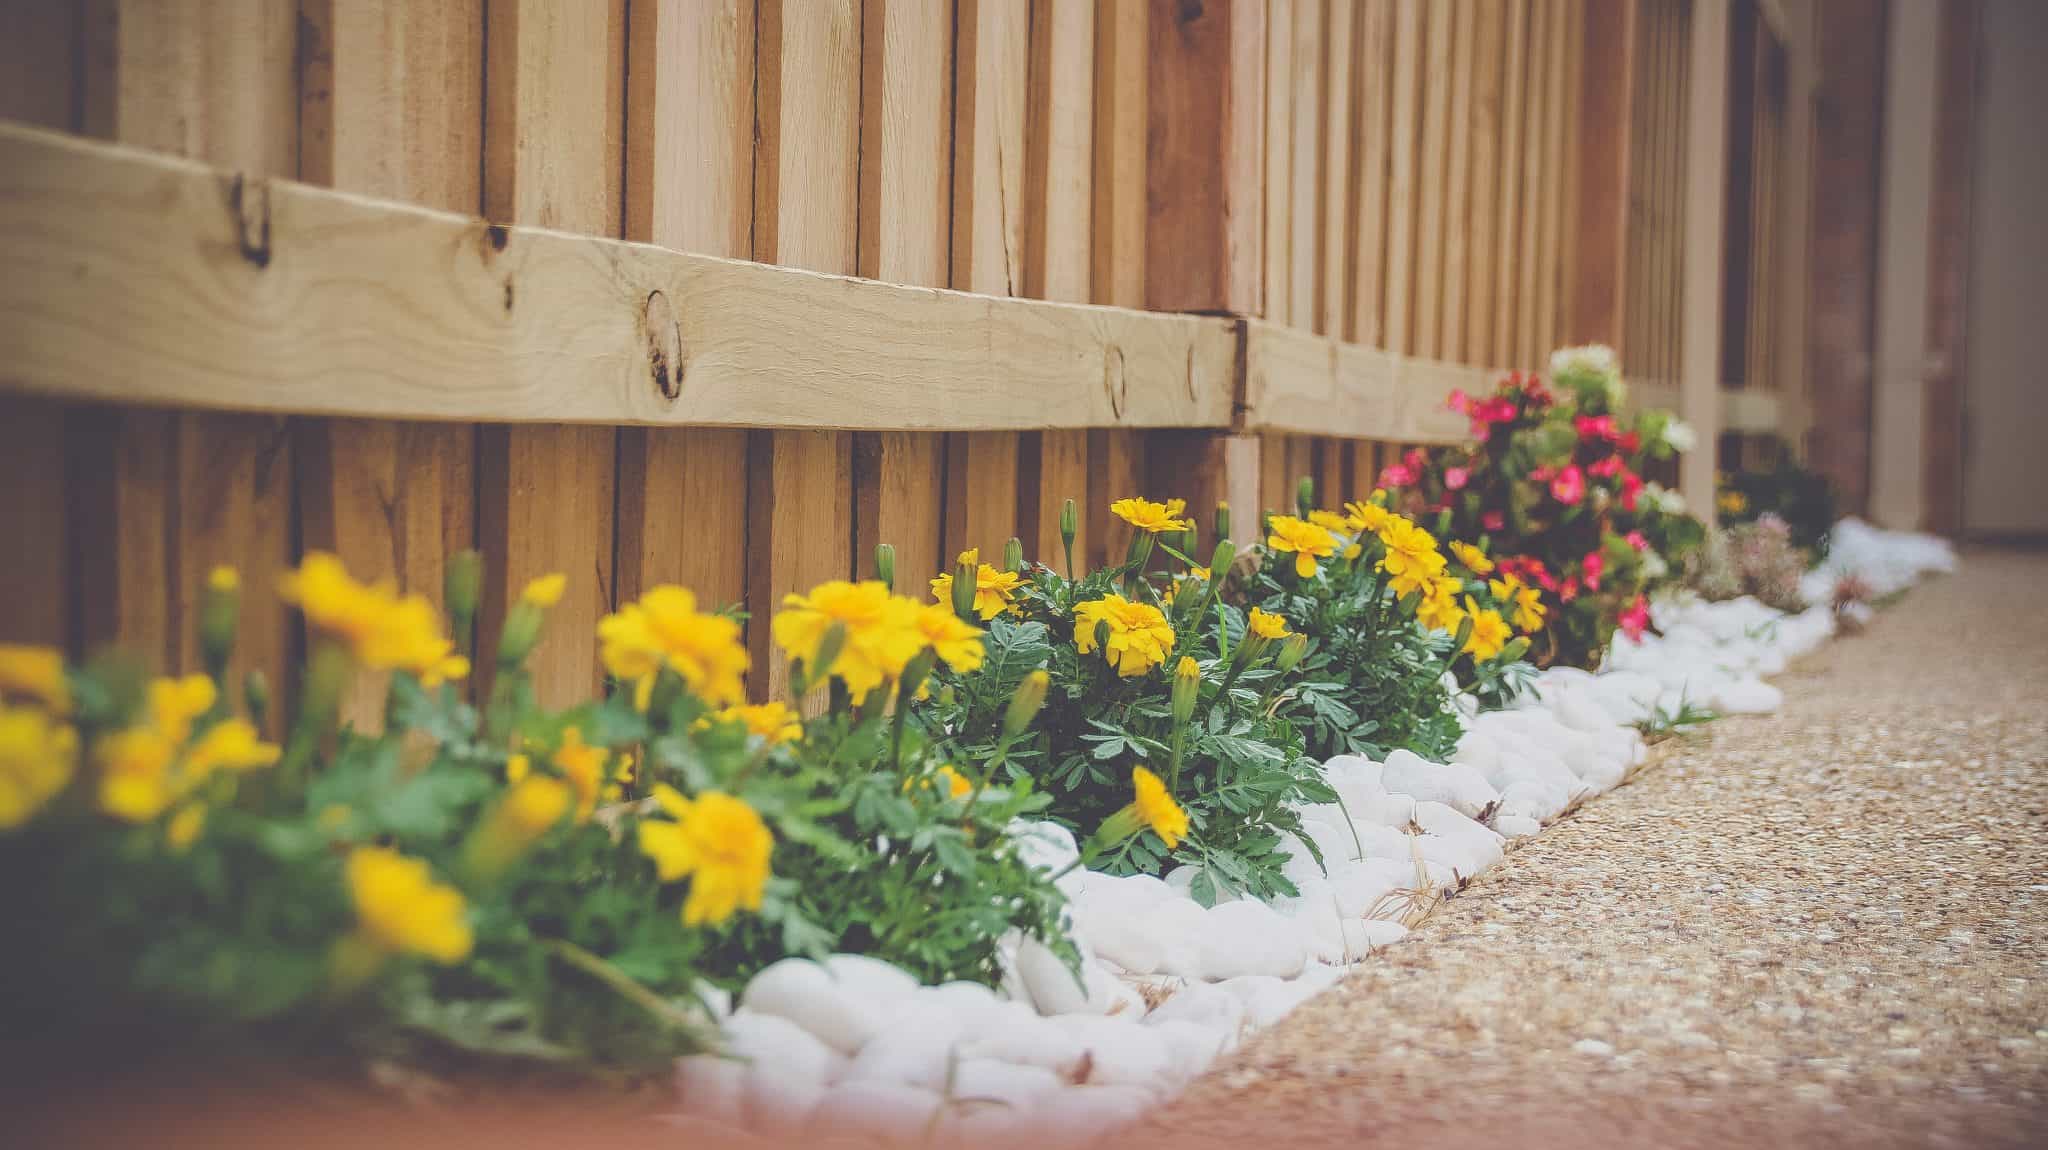
You need to consider more than just looks when thinking about where to situate your garden shed. Asking yourself the following questions and considerations can give you better ideas:
- Access: Will I be able to walk all around my garden storage? Or do I want it hard up against a boundary?
- Drainage: Can my shed drain excess rainwater? Do not place your shed on boggy, marshy, or gully ground.
- Permission: Do I need planning permission to build here? Is it within my property lines, and are my neighbours okay with the proposed shed?
Remember, your shed site should be slightly larger than the exact size of your shed’s base. We suggest adding a foot in every direction. So, for instance, if you’re planning a 5ft. x 5ft. square shed base, you’ll need a 6ft. x 6ft. site.
You can start preparing the site once you feel comfortable with the location of your shed.
Step 2: Clear the ground
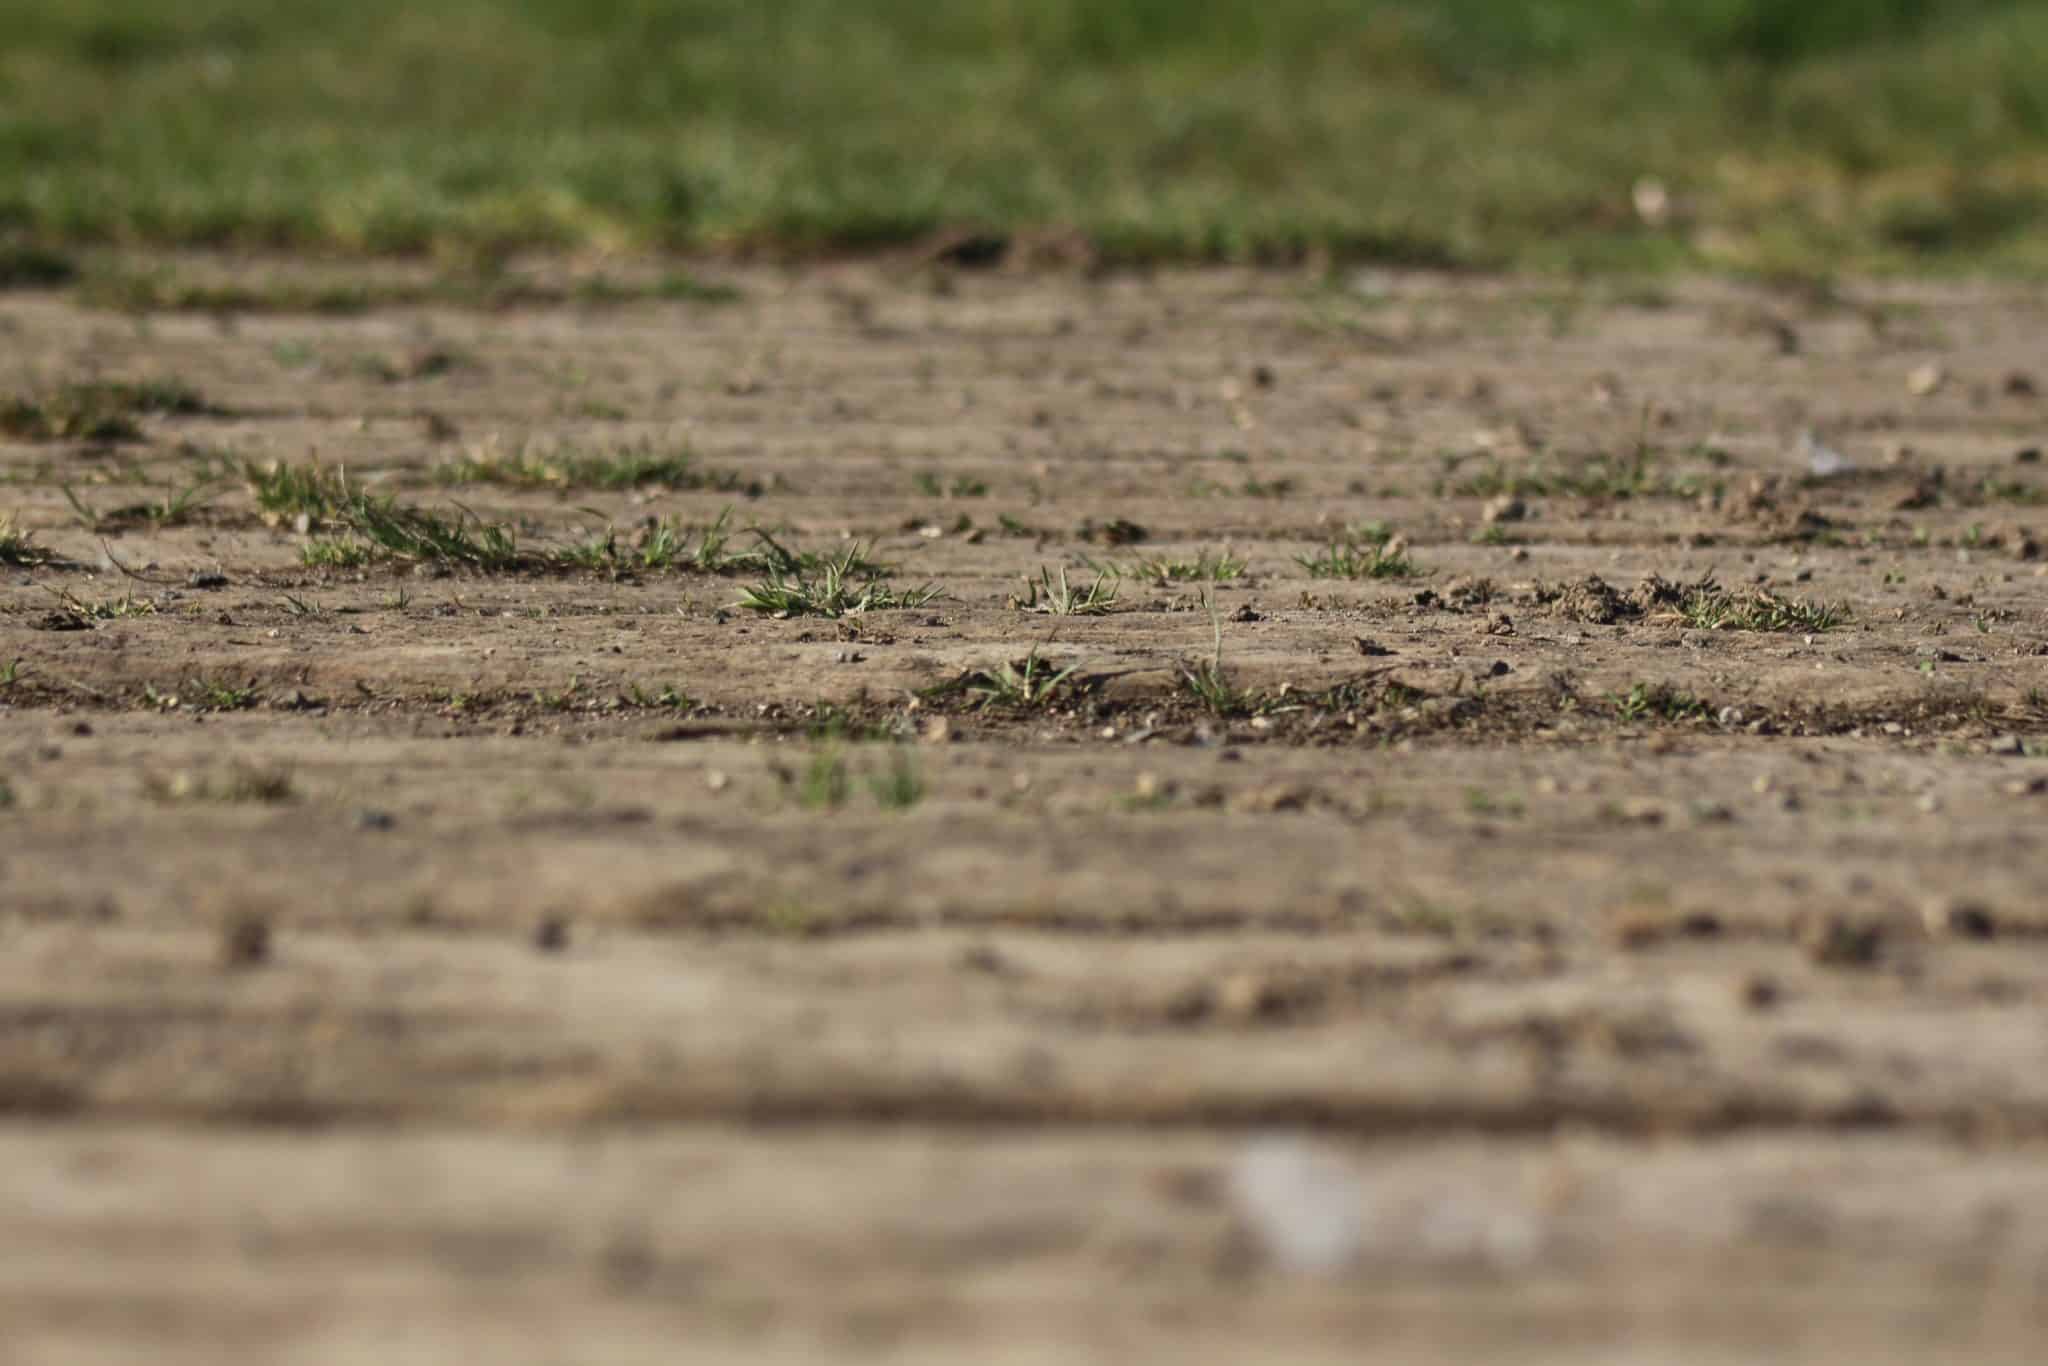
You want a clean and flat surface to work with. Remove any grass, weeds, rocks, or debris from where your shed will sit.
You can mow and trim any overgrown vegetation in the area. Rocks and branches could also disrupt the shed base, so clear any debris around. Pull out weeds by hand or use a hoe to get rid of them. Once the shed is installed, lay down a weed barrier fabric to prevent weed growth under it.
Step 3: Consider a weed membrane
Next, consider laying down a weed membrane or landscaping fabric. Even if you’ve already dealt with weeds, we recommend this step for longevity. It helps prevent weeds and moisture from reaching the shed’s floor.
After levelling the ground and constructing a perimeter for your shed, you can proceed to step 4.
Step 4: Build the base
At this stage of learning how to prepare your garden for a shed, you’ll have a couple of different options. We recommend following steps 1-3, regardless of your base. Then you can settle on one of the following:
- Crushed stone base: Crushed stones allow proper water drainage and weed prevention. Use “¾ clean” crushed stones to prevent them from locking up. Dump them inside your perimeter, then tamp and level them as you did with the dirt in step 2.
- Pavement slab base: This is a budget-friendly option if you prefer not to pour concrete. To lay, remove about 7 cm of topsoil. Then, either sink the slabs and backfill them or secure them with all-purpose cement.
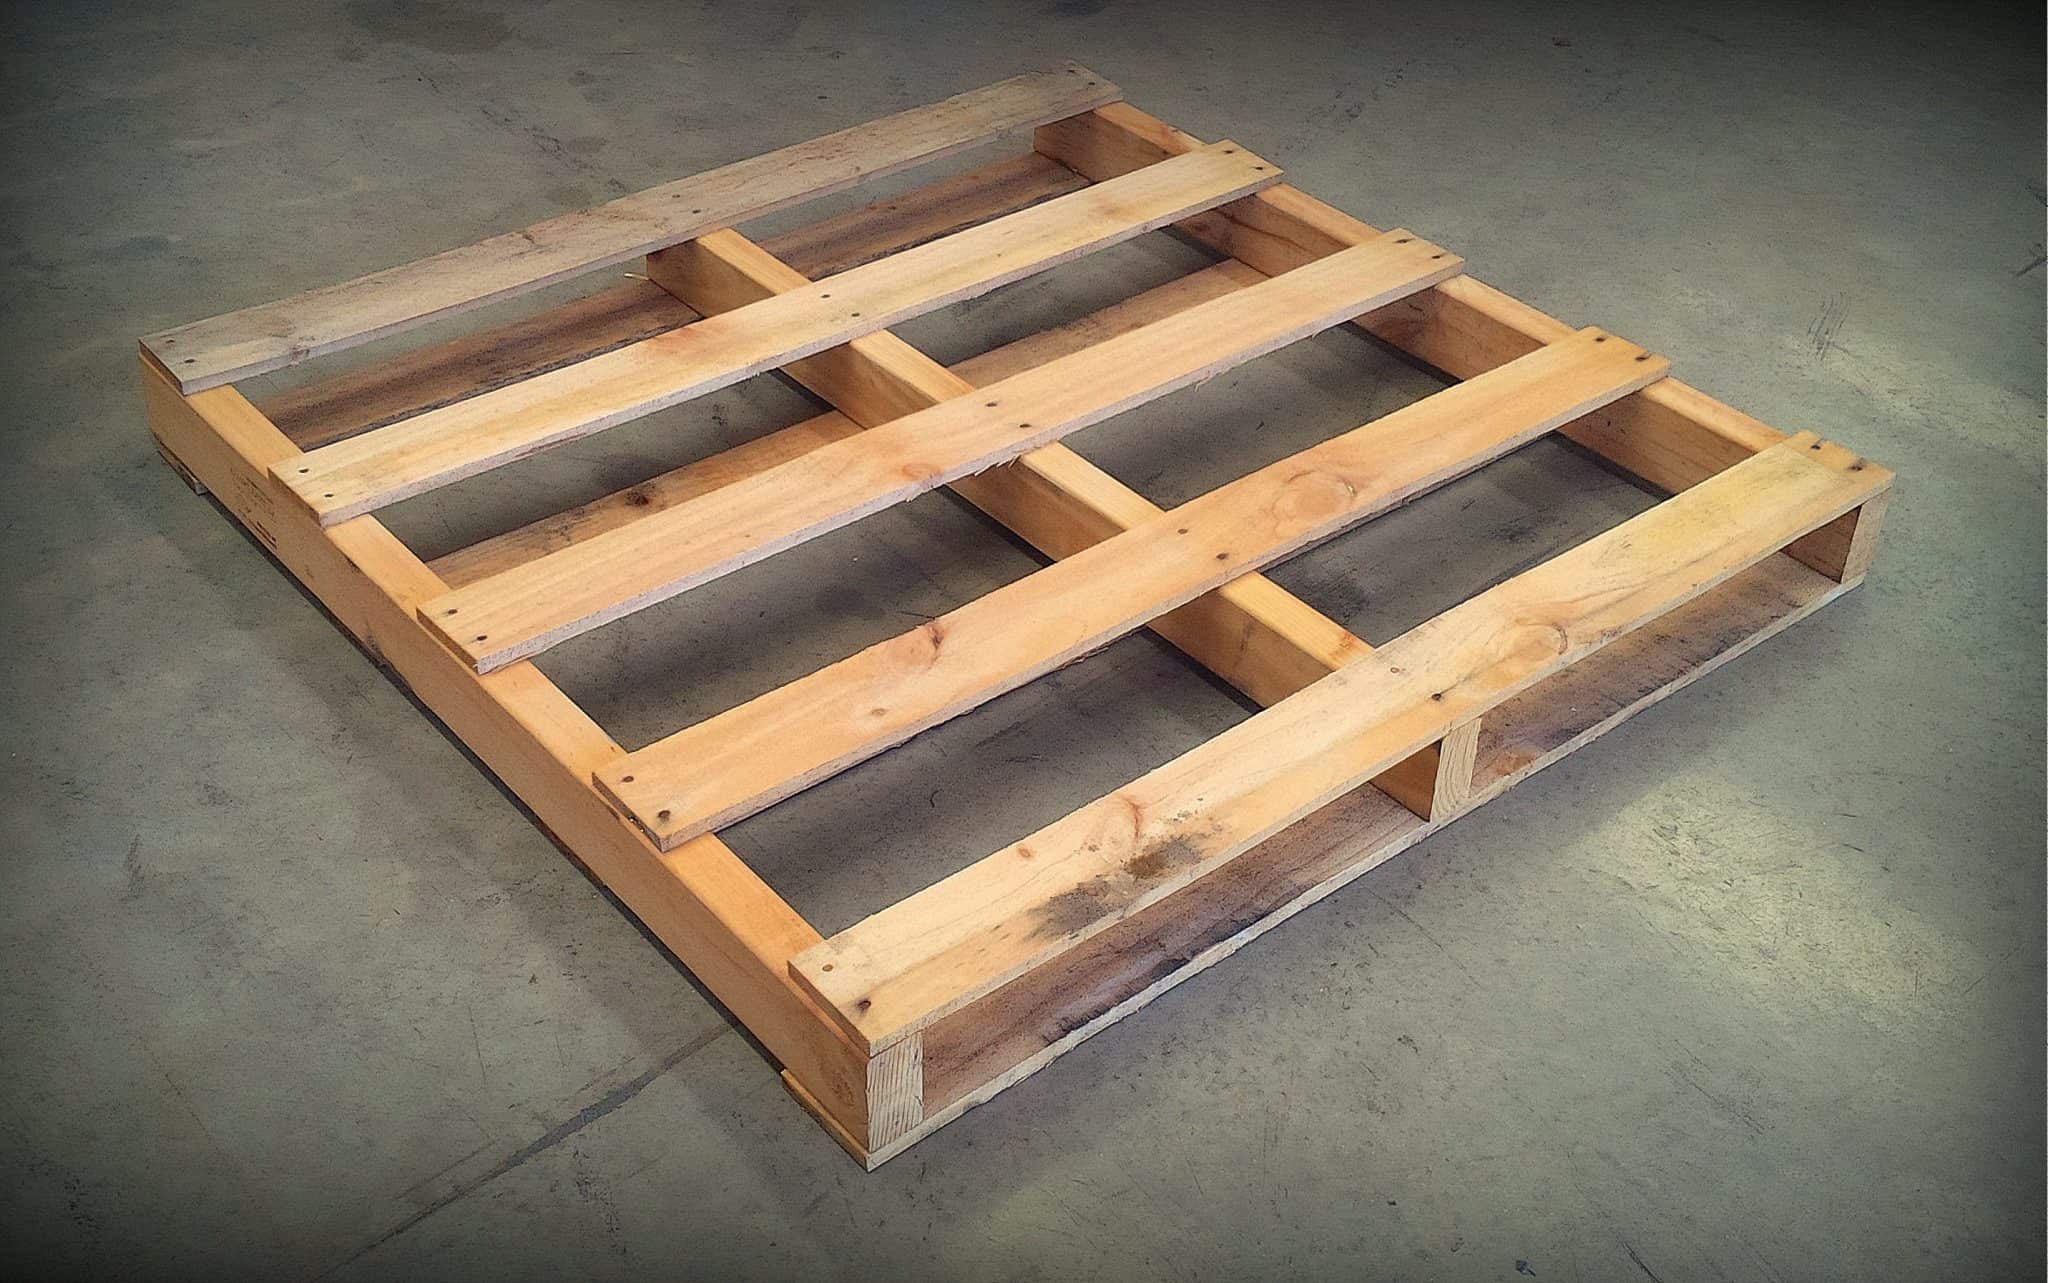
- Timber base: For a smaller outdoor garden shed, consider making a timber base. Build a four-sided frame and attach cross beams using a drill or nail gun. Then, secure the frame to corner posts and drive them into the ground. This simple frame will elevate the shed and keep the base dry and weed-free. It’s also a less permanent option than a concrete slab if you need to relocate your shed.
- Concrete base: This is your best bet for a more permanent solution. While a concrete base for shed is pricier, it offers long-term stability. Simply level your shed site and build a perimeter with four corners. Mix and pour concrete, use a string line to level and remove access, and let it set.
Use a spirit level to ensure your base is flat so that you won’t be building your shed on a slant. Even a slight angle could lead to instability or objects rolling around inside your shed. If you have a sloped garden, check out our blog on how to build a shed base on a slope.
Step 5: Install your shed

Now that you’ve prepared the base, it’s time to install your shed! Position the structure onto the base with the help of a friend or two. Follow the manufacturer’s instructions for assembly and make any necessary adjustments. Once assembled, take a moment to admire your handiwork and enjoy your new outdoor space!
If you haven’t found the perfect storage for you, check our garden sheds for sale for more options. If you have any further questions, contact us and don’t hesitate to give us a call at 01909 768840.
Next on your reading list: How to Move Your Garden Shed: A Step-by-Step Guide