Jump to:
Most summerhouses are designed to endure extreme weather and environmental elements. However, this doesn’t mean wear and tear are less likely. Such damage can take its toll if the structure is left unmaintained. Here are five simple steps to help you keep your garden room in top condition.
1. Inspect summerhouse condition
This assessment is a great starting point for your wood building maintenance routine. Take the time to examine the outdoor area, focusing on the exterior first for any signs of damage. Make a list of what needs repairing or replacing so you can ensure nothing is overlooked.
Begin at the ground level, starting with the summerhouse base, front porch (if you have one), and the floor. Then, move on to the wall surfaces and the overhang ceiling until you reach the roof. Do so one at a time — repeat the same process for the interior.
2. Check the summer house foundation
You’re likely aware of the importance of a levelled garden room base prior to installation. However, instances like roots penetrating the soil and causing cracks in the foundation can be beyond your control. Thus, you’ll want to make sure the base stays as solid as it is. Preventive maintenance is always best, so take action regardless of whether there are visible signs of damage.
Suppose there are cracks in the foundation and the summer house walls or floors. A puddle of water near or underneath could be the potential culprit. Such scenarios encourage water-seeking roots to burrow into the soil and absorb moisture. This can trigger cracks that may eventually compromise the building’s structure. In worse cases, this can lead to a sinkhole activity that can affect the exterior and interior.
Tip: If the matter isn’t within your expertise, it might be best to seek professional help. They can provide you with the most suitable approach to address the issue.
3. Assess mould on summer house walls

Now, you get to the part where you may have to deal with mould growth. Moulds are dust-like fungal species that occur due to condensation. They appear as pinpoint black spots, usually on the side and in the corners of the wall.
Check every nook and cranny, including the ceiling and roof, for possible leaks. If you spot any fuzzy or powdery patches on the surface, get rid of them ASAP. Using a bleach solution is the most effective and natural method for this.
Mix 1 part bleach to 4-10 parts water in a spray bottle, then begin spraying. Scrub away mould stains and spores using a sponge — be sure to wear gloves! Continue cleaning until those areas are restored to their former state.
4. Check the summerhouse window and door seals
Inspect the window panes and frames for leakage. Old caulk or seals are usually the cause, so remove the existing ones and reseal them if necessary. Allow time to dry, then use a window cleaner to clean the glass surface. For the frames, use a handheld vacuum or brush to remove any accumulated grime.
Next, check if the door’s handle and mechanism turn properly. If something is catching and it won’t open, the lock is likely old. It also might be the perfect time to invest in a new summerhouse door lock.
5. Summer house roof maintenance

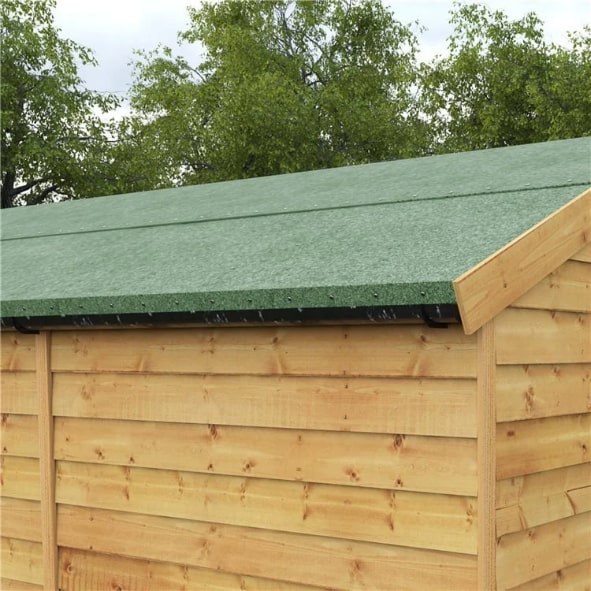
Does your summer house roof have a green mineral felt? If so, it’s worth checking its condition despite the material being durable. After all, you never know the extent of the weather damage your garden room may endure.
If you notice large bushes or branches rubbing or pressing against the roof, trim them back. Otherwise, these elements could dislodge or tear the felt, potentially causing leaks. As for the gutter, make sure it’s free from debris and fallen leaves. Keep the surface clean to prevent water accumulation, rot, and long-term damage.
And that concludes our summerhouse maintenance checklist! Feel free to add more tasks, but be sure not to skip the areas mentioned above. Next on your reading list: How to Clean Your Summer House Ready for Summer
If you have any further questions, contact us and don’t hesitate to give us a call at 01909 768840.
Shop Summerhouses


